With nature’s renewed bloom, flower photography is the ideal medium for capturing the beauty of the flora that surrounds us. You only need to leave your house to be able to photograph flowers from every angle.
However, while taking snapshots of flowers is easy, getting the shot right takes a bit of skill. If you’re going to take macro photo of flowers, there are a number of conditions you’ll need to meet in order to succeed: the choice of lens, composition, settings, angles of view, time of day, and so on*.
Macro flower photography: Get as close as possible
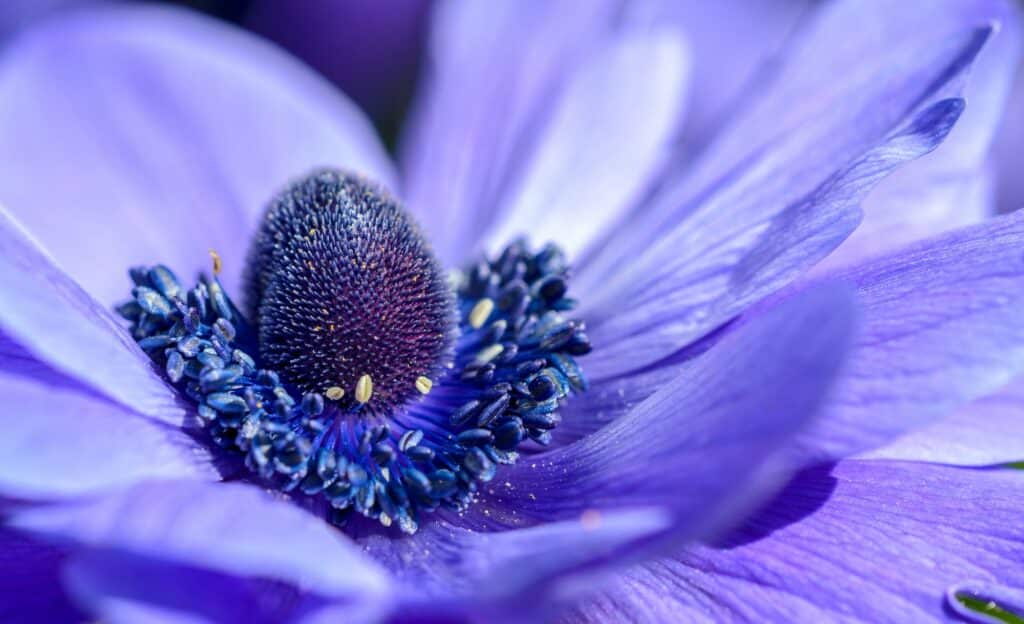
Flower photography is divided into classic and macro photography. Macro photography, or simply macro, refers to an image with a magnification ratio of at least 1:1, that is, a life-size image.
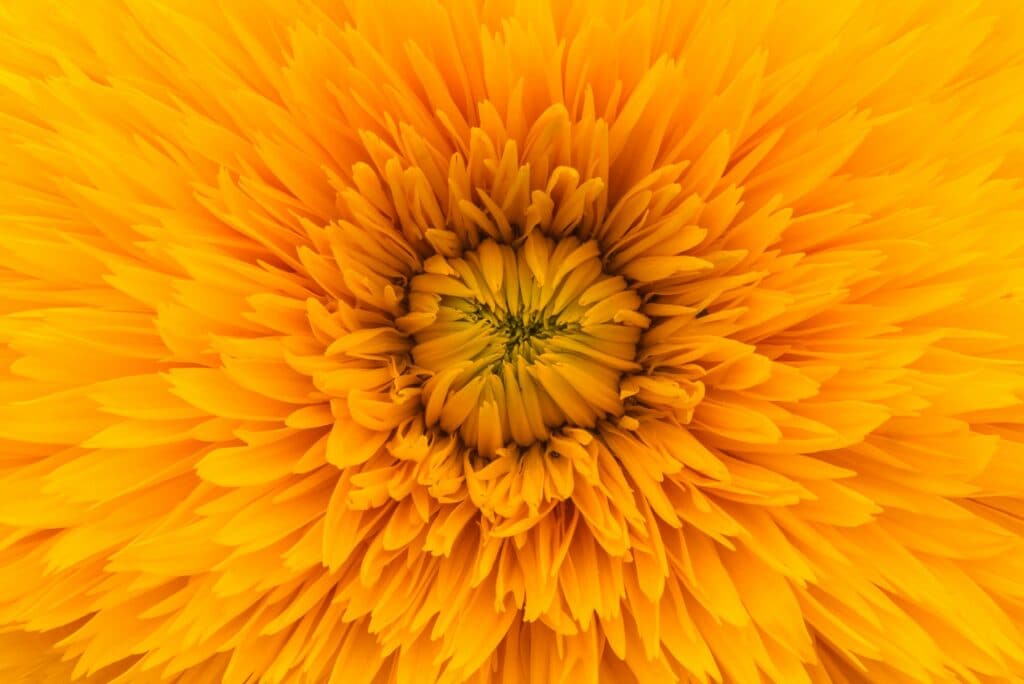
Macro flower photography allows the photographer to get as close as possible to the subject, to enlarge it and capture every minute detail, even features invisible to the naked eye. It brings the miniature world of flowers (pollen, stamen, pistil, micro-insects, etc.) into perfect focus.
More technical than classic photography due to the demands of proximity, macro photography requires specific equipment, which we will look at below.
Flower photography: Before you get started
To get the best flower photo, it’s important to determine the following conditions:
• When best to shoot flowers?
• Where to photograph flowers?
• What are the optimal conditions for flower photography?
- When best to shoot flowers?
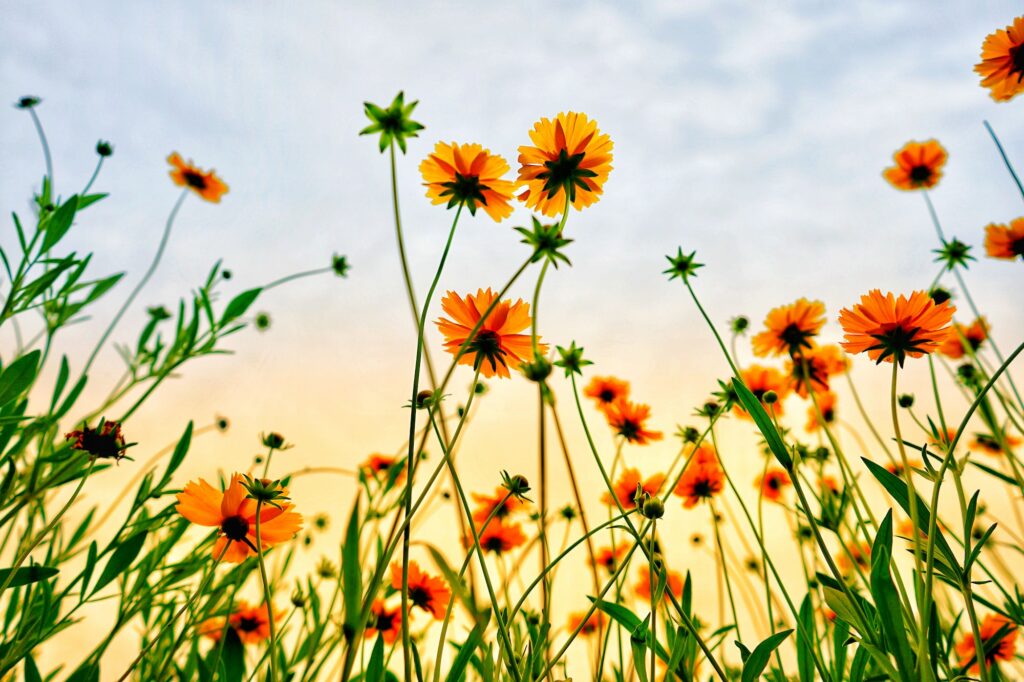
The optimal time to photograph flowers is in spring, when flowers and trees are in bloom. This is the best season to enjoy and capture nature’s explosion of color. Flowers can, however, be photographed all year round, since every season has its own species and its specific color palette.
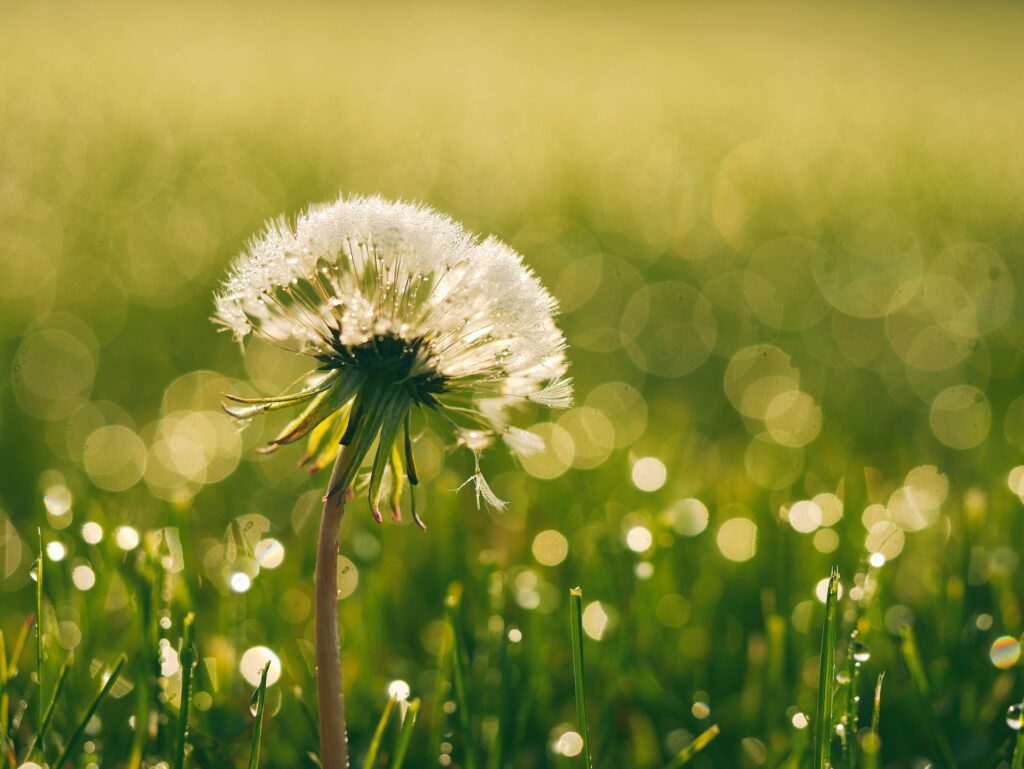
On the day of the shoot, head out the door early in the morning, just after sunrise, or later in the evening, before sunset. These times of day are known as the “golden hours,” because the light is soft and warm, and it enhances the colors of flowers. Early-morning flower photography allows you to capture dew drops on the petals, adding an extra touch to the composition.
- Where to photograph flowers?
Found anywhere you look, flowers are the easiest photography subject to find. Whether at home or in your travels, you can find flowers in any garden, park, forest, on a mountain walk, near a beach, etc… You can also photograph flowers indoors, at home, arranged in creative ways (a bouquet, in a watering can, etc.).
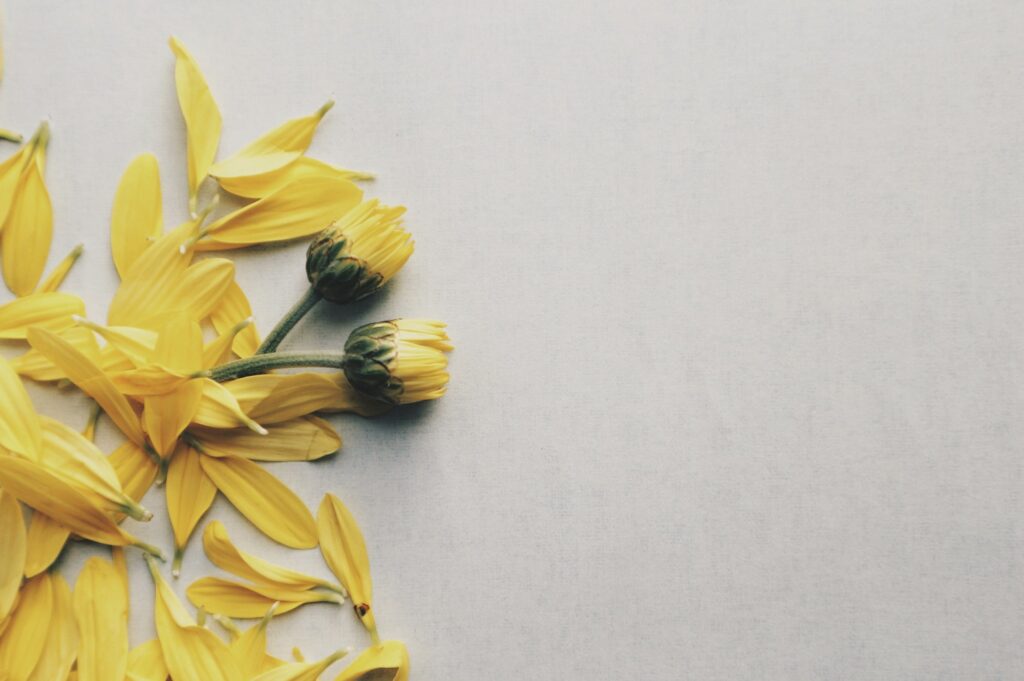
While garden-grown plants and exotic wildflowers lend themselves best to photography thanks to their vibrant colors, we should not underestimate dead flowers. Wilted petals, filaments, and seeds offer a great opportunity for beautiful still life photographs.
- What are the optimal conditions for flower photography?
The ideal conditions for flower photography are overcast skies with no wind. The presence of clouds (the more overcast, the better) diffuses and softens the light, yielding a well-exposed, more natural and uniform image. Soft light also brings out the color and detail in your flower species.
By contrast, on a bright sunny day, especially at midday, strong direct sunlight can exaggerate the contrast of your photos, deepening the shadows and obscuring the details (shapes, textures, imperfections, etc.). You need to pay attention not only to how strong the light is, but also where it’s coming from (behind, overhead, facing you) to properly manage the exposure of your flower photographs.
Make sure there’s no wind when you’re out photographing flowers. If it’s windy, you won’t be able to focus properly and get a perfectly sharp image because your subject is constantly moving. If you want to take a flower photo on a windy day, make sure you have a windscreen (a reflector or a simple piece of cardboard).
Finally, the presence of rain can enhance your flower photos, since flowers balancing drops of water offer creative photo opportunities. You can shoot during the rain or just after, before the drops dry. If you want to recreate the effect of rain or dew, you can bring a spray bottle and mist your flowers.
Although soft light is ideal, depending on your flower photography project, direct light can generate interesting effects. This is the case, for example, when flowers are backlit (sun located on the other side of the flower), which might create halos of light and highlight the translucent fragility of the petals. Similarly, a slight breeze can create an interesting aesthetic.
What equipment should I use for flower photography?
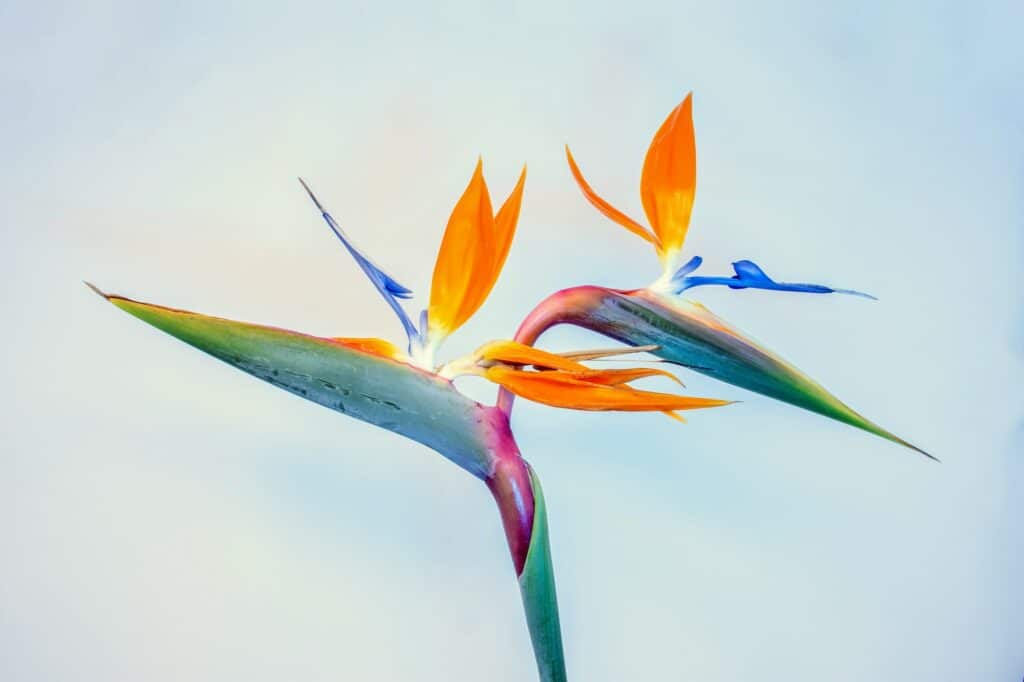
Flower photography is very accessible and doesn’t require any special equipment. However, if you want to take more elaborate photos, particularly for macro flower photography, you’ll need to equip yourself with quality equipment, whether in terms of cameras, lenses, or accessories.
- What camera to choose?
For flower photography, you can use any type of camera: smartphone, compact, SLR, hybrid, film, etc. With the right settings, a great picture is in the bag. So you don’t need a professional camera.
However, it is recommended that you use a camera that allows you to change lenses and that has a manual mode, so that you can adjust your settings and optimize your image. This is particularly important in the case of macro flower photography, where a reflex or hybrid camera is ideal.
- What lens to choose for flower photography?
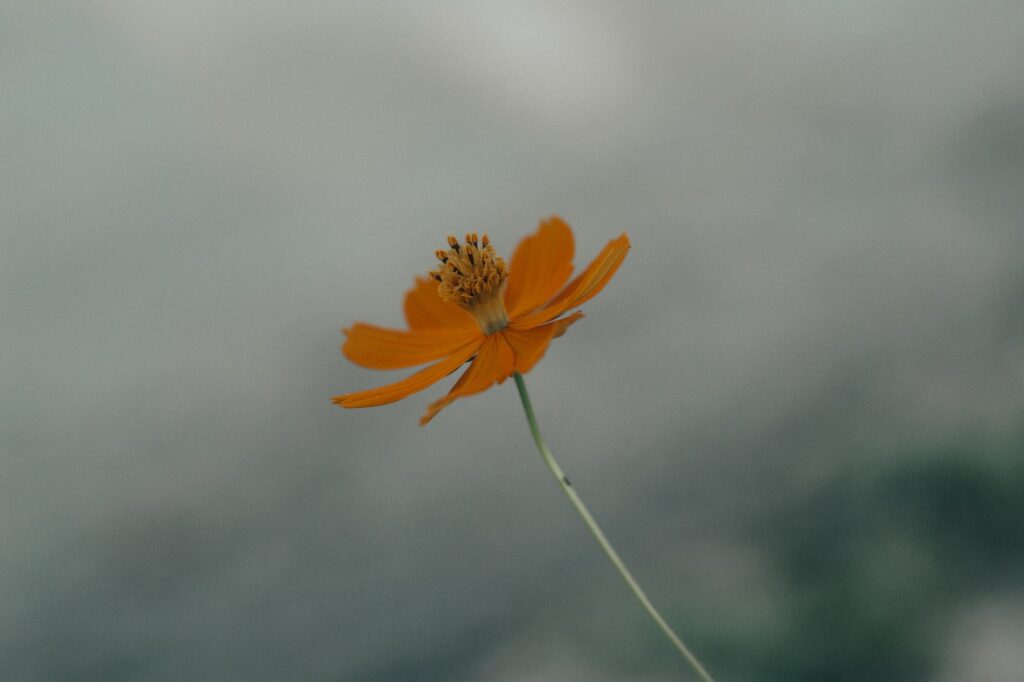
Long focal lenses are the best choice in flower photography. They give you a narrow angle of view and blur the background to make the subject pop. They also allow for optimal focus, even when the lens is nearly touching the flower.
However, you can take beautiful flower photos with any lens, whether standard (e.g., 18–135 mm), wide-angle (less than 50 mm), or telephoto (between 90 mm and 600 mm). A wide-angle lens, for example, allows you to capture flowers in their environment, creating interesting distortion effects.
In the case of macro flower photography, since you need to get as close as possible to your subject to capture all the details, you’ll need a macro lens. Usually with a focal length of 50 mm to 180 mm, macro lenses enable you to focus precisely on your chosen flower and achieve perfect sharpness, even at close range.
Whatever your choice of lenses, the important thing is to find one that is best adapted to your creative project and to measure the distance between you and your subject to optimize your focus. Experiment with your lenses (readjusting your settings every time) and figure out what works best for you.
- Accessories
To facilitate your flower photography, you can equip yourself with certain accessories, the importance of which will depend on your approach, the weather conditions, and your ideas:
• A tripod: Although not essential for flower photography, the tripod’s stability will help you steady your frame and stay in focus. In macro flower photography, a tripod, unaffected by movement, is essential to maintaining optimum focus and perfect sharpness.
• If the light is too bright, you can use a lens hood to shade your lens and ensure even illumination. You might also get a light diffuser to soften the light, or a reflector to help reflect the light back towards your subject (to accentuate contrast, intensify the color, etc.).
• Flash: To obtain ideal illumination when taking close-ups, use a small aperture. When the light is insufficient, the flash offers extra illumination. In macro photography, the flash helps to obtain natural light and compensate for the absence of light in extreme close-ups.
• Remote shutter release: If you’re using a tripod, it will allow you to shoot without having to touch your camera, once you have adjusted all your setting. Since it avoids vibrations or the risk of changing focus, a remote shutter release makes it easier to get a perfectly sharp flower photo.
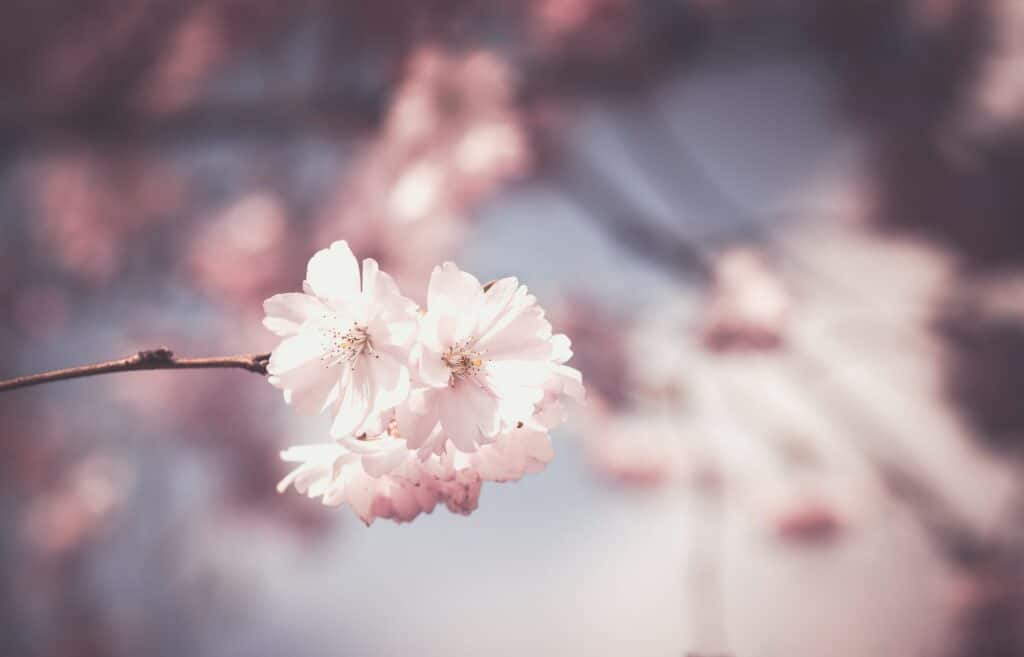
- Flower photography settings
While you can go out and take a flower photo without thinking about the settings on your camera or smartphone, these settings are essential to improving your technique and getting interesting images. In flower photography, there are three main parameters to consider: aperture, ISO sensitivity, and shutter speed.
- The manual mode
While it’s perfectly possible to take beautiful flower photos in automatic mode, especially if you’re a beginner, only switching to the manual mode will allow you to improve your shots. Depending on your distance and the context of the photo (low light, wind, etc.), automatic mode might struggle to obtain an optimal focus.
In manual mode, you can finetune all the settings you need for a successful shot. Because of the very shallow depth of field in macro flower photography, manual focusing is a must to prevent any potential movement.
- Aperture
The aperture controls the amount of light entering your camera lens and is represented as an ƒ-number. When it comes to flowers, photography needs to emphasize the main subject, setting it apart from its background using blur. To foreground the flower, a shallow depth of field is required.
This shallow depth of field is achieved with a large diaphragm opening, recommended between ƒ/4 and ƒ/2.8, to isolate the flower from its environment.
In macro flower photography, the very shallow depth of field means that a large part of your frame will be out of focus. You can then reduce the diaphragm aperture to ƒ/16 or ƒ/22 to obtain greater depth of field and thus better sharpness. This will, however, limit the light, which you will need to compensate with other settings.
To set your aperture, you can use your camera’s manual mode or use the Aperture Priority mode, available on many cameras. Run a few tests and find the aperture that best suits your flower photography project and ensures that your main subject is crisp and clear.
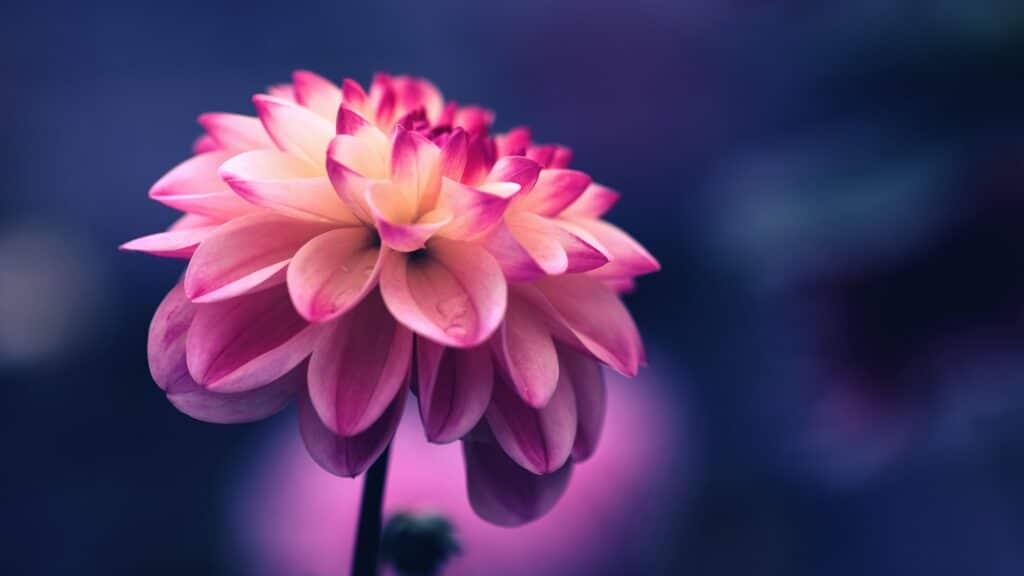
ISO sensitivity
Like aperture, ISO allows you to control the amount of light captured by your camera, yielding a more or less illuminated, detailed image. When it comes to flower photography, depending on the conditions (time of day, the weather) and your aperture and shutter speed, you will need to adjust your ISO sensitivity (a low aperture will require more light).
In general, if you’re photographing a flower on a sunny or overcast day, you won’t have to worry too much about ISO, which can be kept low (between 100 and 800) since the sensor receives enough light. In the early morning and late afternoon, on the other hand, you will need to adjust your ISO to capture as much light as possible and compensate for low levels of light.
Depending on your needs, you can go up to ISO 3200 to get a very sharp image without too much risk of digital noise (grainy picture). Try several ISO settings to find the sensitivity that gives you the best results without graininess.
- Shutter speed and exposure time
The third major setting to consider on your flower photography outings is shutter speed. Like the other parameters, shutter speed allows you to control the amount of light hitting the sensor by adjusting the length of exposure. Generally, and in flower photography specifically, the longer your focal length, the shorter your exposure time, especially in macro shots.
To secure a sharp shot that freezes the action and brings out the details of your subject, you will need to pick a high shutter speed, i.e., a short exposure time. We recommend setting your shutter speed between 1/200s and 1/1000s.
The longer your exposure time, the more light your sensor registers, and the better it captures the movement of the flower and its surroundings (nearby branches, insects, etc.). If your exposure time is too long, you will likely end up with a blurred or streaky image. This effect is magnified on windy days.
- RAW format
If you’re planning to process and rework your photos on your computer, you should shoot in uncompressed RAW photo format. Unlike JPEG, which has a limited value in post-production, the RAW format preserves all the details of the scene.
How to prepare for your flower-photography outing?
Once you’ve chosen the right equipment and set up your camera properly, before you press the shutter release, you need to prepare your photos well: background control, frame, composition, etc.
- Plan your outing
Because flower photography depends so much on the location, the season and the bloom calendar, the time of day, and the weather conditions, it’s important to prepare your outing in advance. Check the forecast for sunshine, cloud cover, wind or rain, and so on.
This will make it easier for you to determine what equipment to bring (sunshield, reflector, spray, etc.), as well as what to wear. In general, choose clothes that you won’t mind getting dirty, so you can sit or lie down to frame your shot. You might even bring a small kneeling pad.
- Honing the background
To make sure your subject stands out and is immediately visible, you need to be attentive to your background. It should complement your flower, be uncluttered, so it doesn’t distract from your subject and overwhelm your flower photo.
A busy background can have a large number of objects in the frame (stems, grass, branches, other flowers), a distracting human background (buildings, walls, fences), areas that are too bright or too vivid, spots of light, etc.
When photographing flowers, the shallow depth of field needed to bring the subject into focus calls for a blurred background. This harmonizes the photo, masking any flaws and immediately drawing attention to the subject. Depending on your photo projects, you can also fill the entire frame with your subject, thus minimizing the background.
To enhance or clean up your background, especially if it’s too busy, you can set up a solid-colored backdrop that will contrast with the bright or pale color palette of your subject and create a unique setting that will foreground and enhance your flower. You may also take advantage of other flowers in the background to create creative patterns of shapes and colors.
For highly creative flower shots, you can play with the depth of field and create a foreground blur, letting your subject recede into the background or shooting it over another flower. Play with distance and depth of field to achieve unique, interesting results.
- Framing and composing your photo
For successful and memorable flower shots, in addition to paying attention to your background, work on your framing and composition; in other words, set the stage for what happens in your image.
There are no rules for framing or composition. Anything in your frame can contribute to a beautiful photo. The important thing is to know what you want to emphasize and to capture what you like.
Whether to obtain a wide shot, a close-up of a single flower or a bouquet, a profile or three-quarter view, a bird’s eye or worm’s eye view, in portrait or landscape mode, don’t hesitate to move around the flower and try out different angles. In general, it’s best to position yourself at the level of the flower, or close to the ground, for greater immersion and a more intimate, natural flower photo.
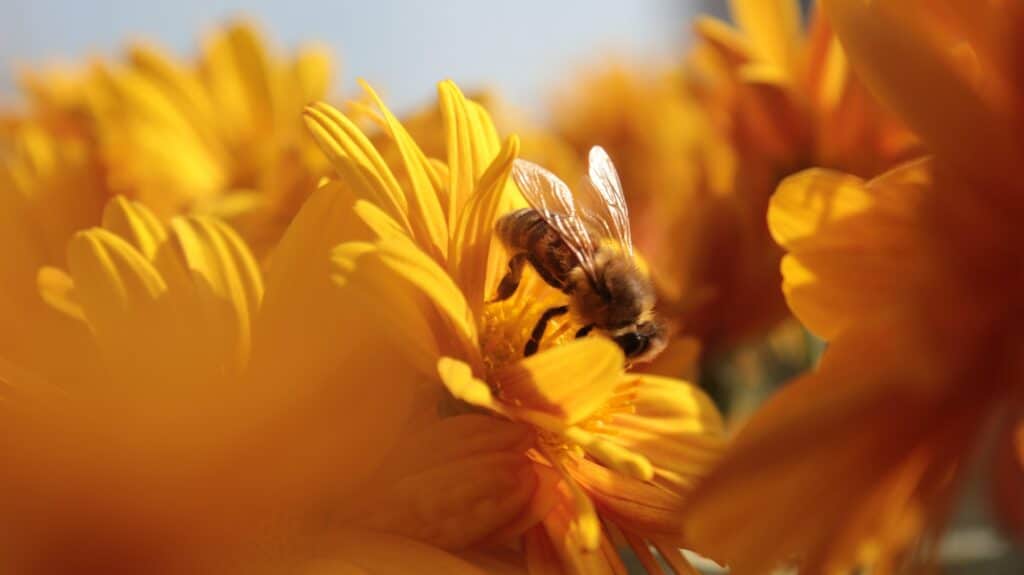
When composing your flower photo, show the extent of a field, look for details (petal transparency, textures, etc.), the presence of insects (bee, butterfly, ladybug, etc.), or play with contrast, colors, symmetrical shapes, etc.
- Unleash your creativity
Whether you use analog photography, black-and-white, accessories, or high color contrast; highlight the flower’s imperfections or create original mises-en-scène, the important thing in flower photography is to unleash your creativity and get exceptional shots that you bring you satisfaction.
- Respect nature
While flowers offer an incredible field of possibilities for taking photos and perfecting your technique, you mustn’t forget that you’re in a natural environment. Respecting nature means refraining from trampling, or pulling out, other flowers and grasses only to get closer to your subject and taking care not to disturb the wildlife around you. May your photos be the only trace of your presence.
Processing your flower photos
To perfect your flower photos, you might want to process and retouch them using photo processing software, such as Lightroom, Photoshop, etc. While reworking your photos is optional, it can enable you to correct flaws, balance or enhance the colors, and create original montages.
- Processing in flower photography most often involves:
• Cropping the photo,
• Adjusting the exposure,
• Increasing contrast,
• Increasing brilliance,
• Adjusting the white balance,
• Harmonizing or enhancing colors,
• Correcting defects or imperfections (pollen, dirt, etc.),
• Reducing digital noise.
Play around with the different settings and experiment to get your perfect flower photo. Remember to edit your photos in RAW format for best results.
Now you know the ins and outs of flower photography. Take advantage of the natural surroundings to refine your technique, try out new perspectives and settings, and, above all, enjoy the beauty of plants and their individual characteristics.
*Article produced with the expertise of the MPB photo equipment resale, purchase and exchange site.
